How to Take Amazing Drink Photos
Drink photography is often forgotten about in this industry, but drinks are some of the most fun subjects to shoot! You can play with color, fun garnishes, and interesting compositions.
Conception
Amazing drink photos start with a great idea. A million different types of cocktails and beverages exist. In my personal life, I don’t discriminate between beverages. When it comes to photos, I want something that is going to stand out. Vibrantly colored drinks or textures like bubbles and foam are awesome to shoot.
The small touches
After you have decided on a killer idea, think about the small details. Will you need ice cubes? What about garnishes and props? Food photography is always detailed oriented but drinks even more so because there is less to work with. Some things to keep in mind are garnishes, ice cube shapes, condensation, and glass sizes. More on styling later.
Composition and Angles
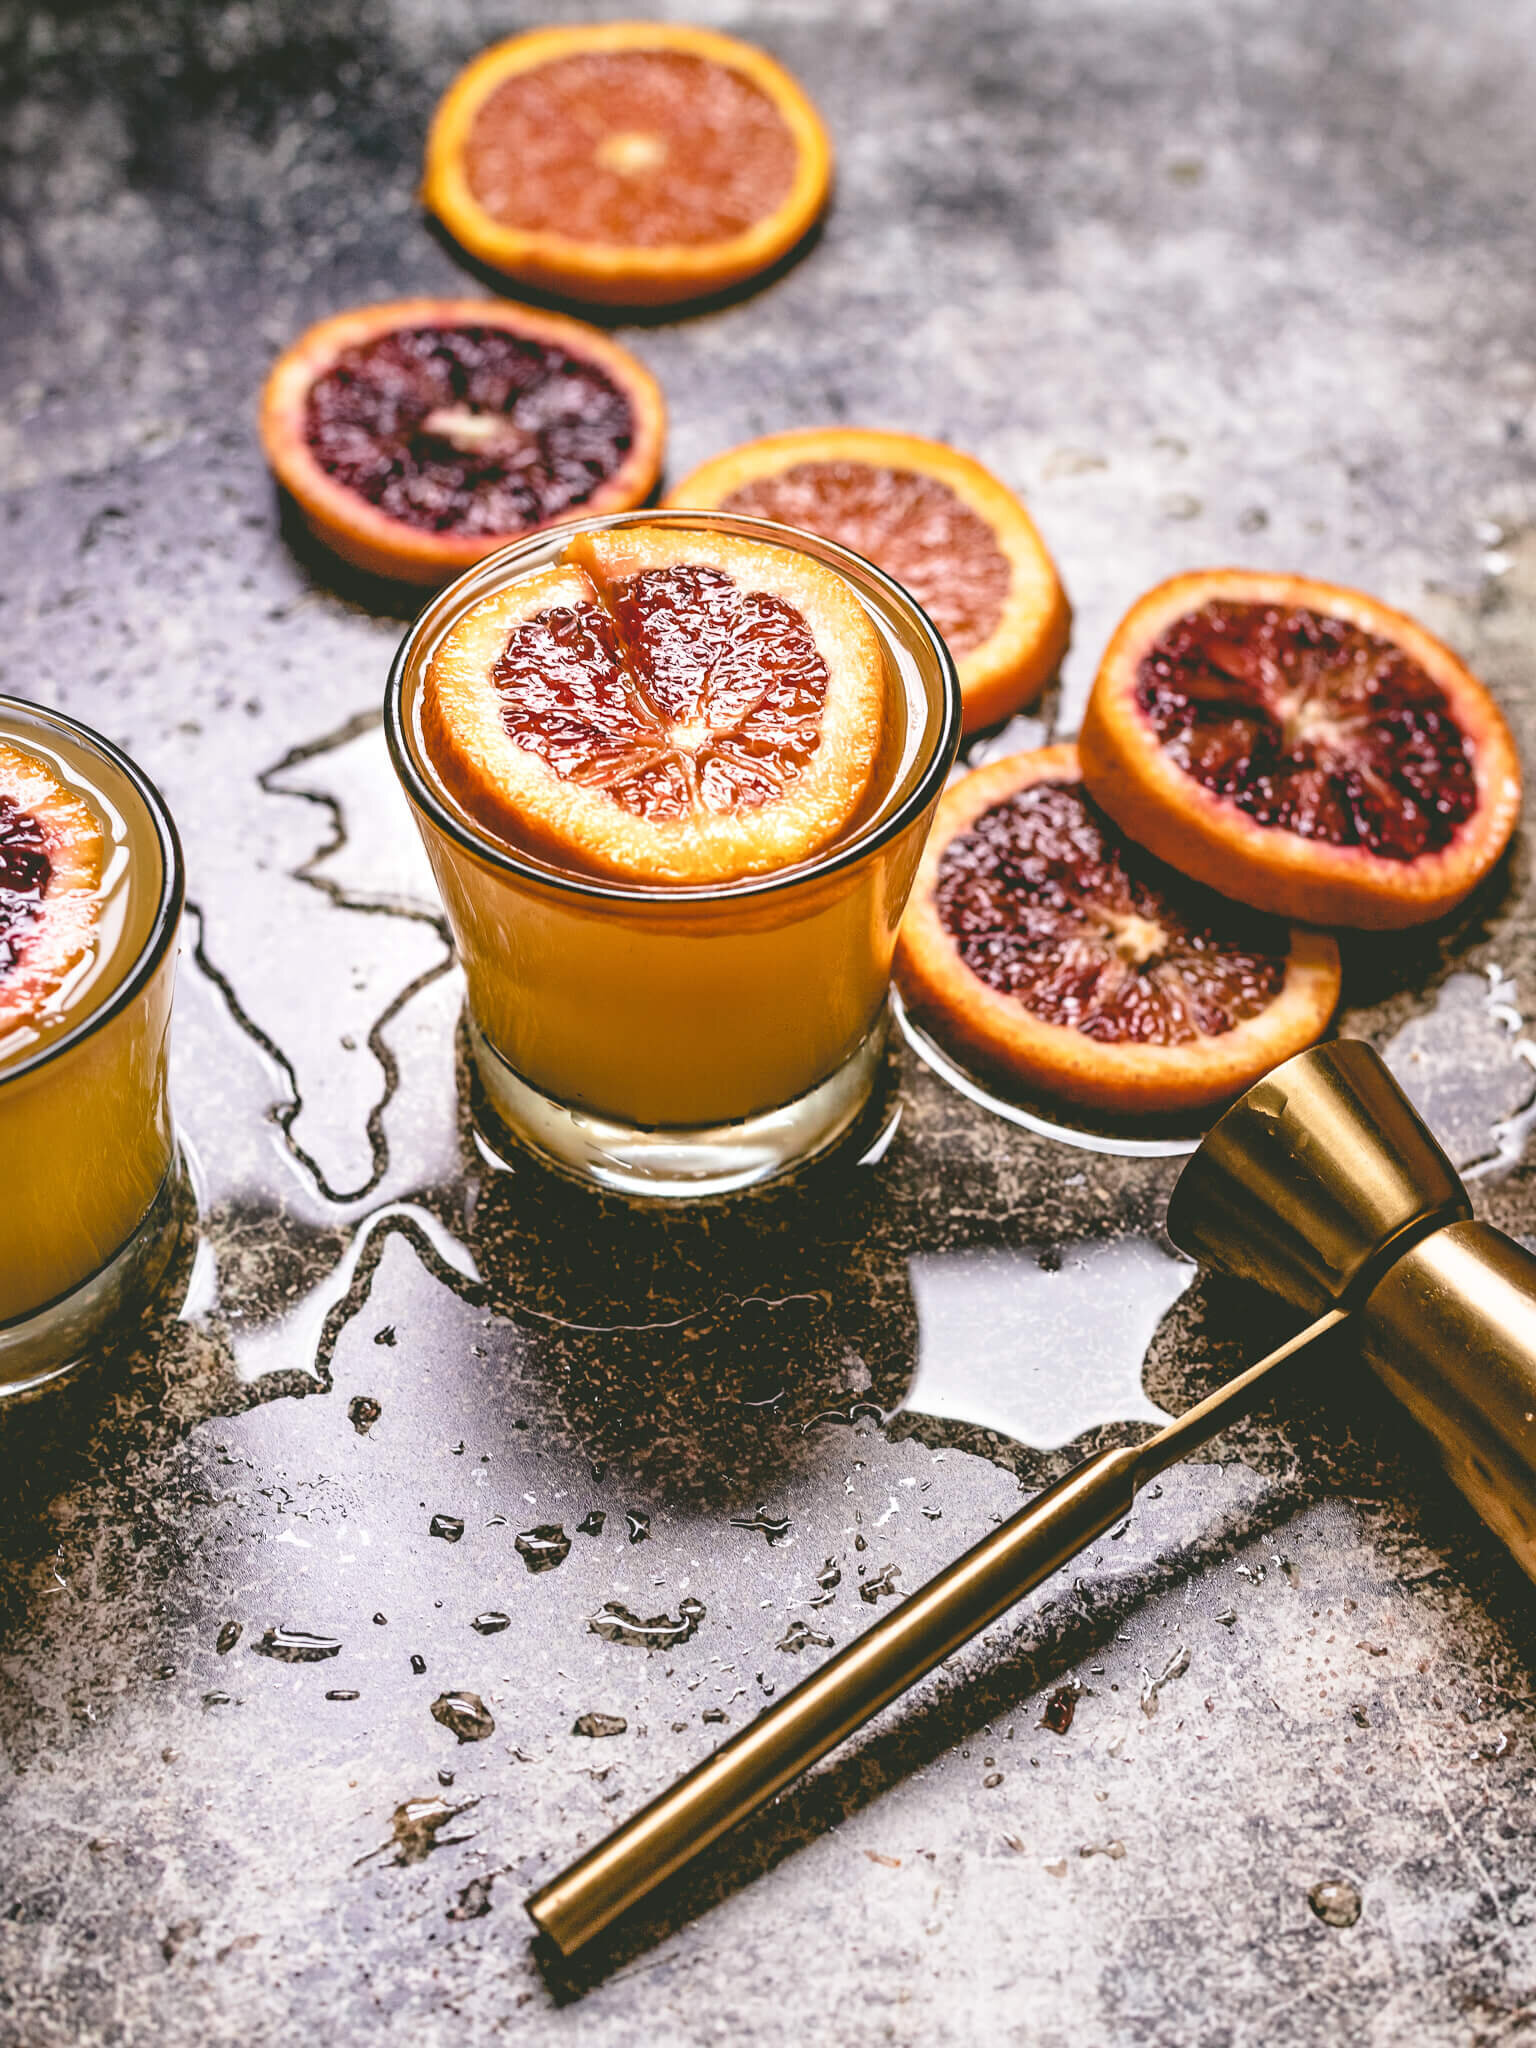
You have tons of options for how to set up a drink scene. The most common angle for beverage photography is straight on. That being said, it’s not a hard and fast rule. As you can see, I also use a 45-degree angle in my example photos. If you want to show off your pretty garnishes, try an overhead shot! In terms of composing the scene, I always start with the rule of odds. This means using sets of odd numbers (i.e. 3 or 5 glasses). Then, I place props and elements of the drinks (garnishes, ice cubes, florals, etc.).
I’m pretty sure I’ve said this before, but I activate the grid lines on my camera screen or computer screen if shooting tethered. This allows me to quickly play around with different composition techniques. Another approach I take with drink photography is creating movement. One of the ways to do this is to arrange props and drinks in a way that guides the eye - for example, placing props/garnishes/drinks on a slight s-curve.
Lighting
We frequently hear about soft light in food photography. While soft light is often desirable, it’s not the end all be all when it comes to beverages. I think intense light can make drink photos stand out even more. The hard light hits the glasses causing a shimmer and also creates deep shadows.
Another aspect of light that is underutilized is backlighting. Backlighting is wonderful for drinks. I mean look at the example below. The light hits the liquid and garnishes and you get these awesome highlights.
Styling Tips for Drinks
Styling drinks is super fun but takes some extra creativity. Something that I run into a lot is ice cubes melting too quickly or just not being the right shape. As for ice cube shapes - I suggest crushed ice or square ice. Some food stylists and photographers choose to use fake ice. I avoid this because most fake ice is very obviously fake - there are exceptions but generally they look insincere. When photographing drinks, I keep a separate cup of ice to refresh the drink glasses throughout the shoot.
For garnishes, I keep an extra stash to refresh the drinks if needed. Additionally, I make them larger than what you would get at a restaurant or bar. This is because things don’t always translate the same on camera. It’s like when actresses wear stage makeup vs their regular makeup. I like to put the garnish to the side or over the top. I’ve noticed that other garnish positions tend to make the scene look closed-in.
A technique I use a lot when shooting drinks is making splashes or placing melted ice cubes on the backdrop. This results in a more dynamic photo. If you want your glasses to have more condensation, you can simply have a spray bottle at the ready. To get a chilled look on your glasses - put the glasses in the freezer before your shoot.
Bonus tips: if you’re shooting whisky or dark alcohols and you don’t want to waste an expensive bottle just for photos, you can use iced tea because it looks extremely similar. Sparkling water can be added to the drinks if you want more bubbles.
Check out my portfolio for more examples of drink photos. If you are curious about photography props, read My Top Food Photography Props post. Thank you for reading, I hope this gave you some inspiration for your next photoshoot!
If you enjoy my content, consider supporting my work for just the cost of a cup of coffee (truly, no pressure though).


